


 © CookIslandsPocketGuide.com
Step 1: Complete the Passenger Arrival Card
The first part of the Rarotonga International Airport arrival process is completing the Cook Islands Passenger Arrival Card. Although you can do this once you arrive at the airport, we recommend doing it on your flight to Rarotonga.
Each individual arriving at Rarotonga International Airport must have a completed Cook Islands Passenger Arrival Card, even children. These forms must also be completed in English.
Hold onto your Passenger Arrival Card, as you will need to show it at Customs and Biosecurity when you arrive at Rarotonga International Airport.
For a complete guide to the Passenger Arrival Card, including what it looks like and what details it calls for, check out Cook Islands Passenger Arrival Card: What You Need to Know.
 © CookIslandsPocketGuide.com
Step 2: Duty-Free Shopping Then Go Through Immigration and Customs
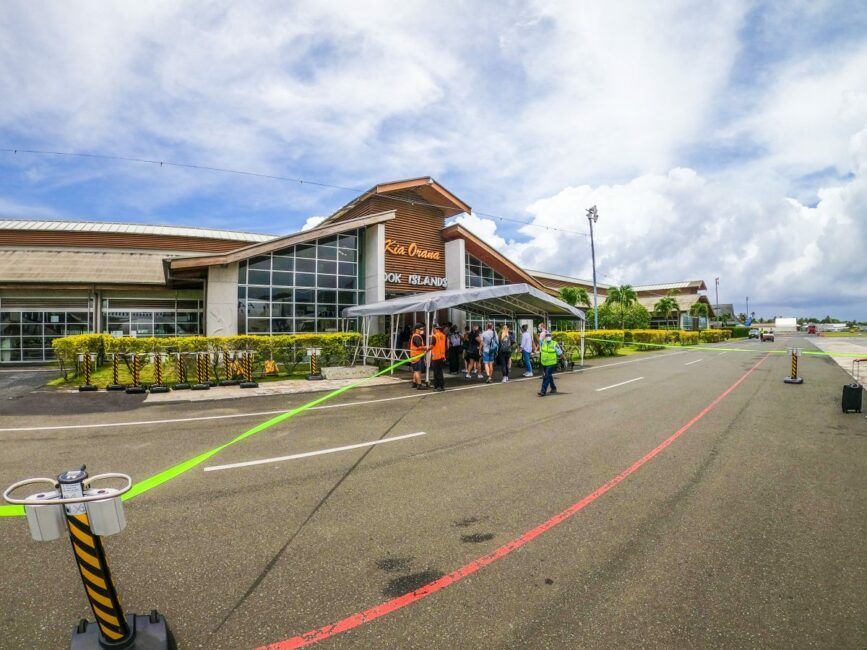
Upon landing at Rarotonga International Airport, you’ll see the mountains and iconic “Needle” piercing the sky, feel the balmy island breeze and will likely be welcomed by a ukulele musician as your enter the Arrivals Hall. There is a duty-free store that sells alcohol and tobacco products, where you can make purchases as long as you don’t go over the duty-free allowance. When you’re ready, queue up to see an Immigration Officer.
Immigration Desk
At the Immigration Desk, hand over your passport and Passenger Arrival Card. You may also need to provide evidence of an outbound travel ticket leaving the Cook Islands and details of your Cook Islands accommodation if you haven’t already listed this information on your Passenger Arrival Card. You may also be asked for any documents concerning current entry requirements, such as vaccination certificates – see What Documents Do I Need to Travel to Rarotonga & the Cook Islands? for updates.
Make sure your passport is up-to-date, which we detail how up to date in our Cook Islands Tourist Visa Guide. Providing you meet all of the entry conditions, you will be granted a tourist permit, which will be stamped into your passport.
The Immigration Officer may ask some questions in regard to the answers you have given on the Arrival Card. The officer will then either tell you if any further action is required or simply return your passport and Arrival Card for you to move to the Baggage Claim area.
 © CookIslandsPocketGuide.com
Step 3: Pick Up Your Suitcase at Baggage Claim
Turn the corner and you’ll see the carousel of the Baggage Claim area. Identify and take your bags from the carousel. The Baggage Claim area also has toilet facilities, should you need them!
Once you’ve collected all of your baggage, continue to the Biosecurity area.
 © CookIslandsPocketGuide.com
Step 4: Declare Any “Declarable Items” at Customs and Biosecurity
After you have picked up your baggage, you will need to queue up at the Biosecurity area. At the front of the queue, a Biosecurity Officer will look at your Passenger Arrival Card and may ask you questions regarding your answers. This is also your last opportunity to verbally declare any “declarable items” that you may have in your possession or in any of your baggage. You will also be given the opportunity to dispose of items that are likely to be considered “risk items” that you won’t be able to bring into the Cook Islands, most commonly fresh food. There are amnesty bins for this.
Not sure what you’re supposed to declare? Check out What to Declare When Arriving in Rarotonga & the Cook Islands.
Depending on if you have anything to declare or not, the Biosecurity Officer will point you either toward a partitioned area where staff can inspect your baggage or toward the door where you are free to leave to the outdoor Arrivals Area.
To learn more about what happens if you are found with restricted or prohibited items at Biosecurity, as well as more about the entire Customs and Biosecurity procedure, head to Arriving in Rarotonga: Airport Customs, Biosecurity & the Arrival Process.
 © CookIslandsPocketGuide.com
Step 5: Enter the Outdoor Arrivals Area
This is it! You have officially entered Rarotonga and the Cook Islands! Outside of the Arrivals Hall are the next steps to get you started on your Cook Islands holiday. There are offices and kiosks for car rentals, a Vodafone store for the local phone network, travel agents, a cafe around the corner and kiosks for airport transfers via taxi, airport shuttles and resorts.
Airport Transfers
If you have an airport transfer booking (which is usually the best way to do airport transfers from Rarotonga Airport), go to the appropriate kiosk. Alternatively, a representative may have a board with your name on it. You’re also likely to be greeted in the traditional Cook Islands manner: with a floral ‘ei (neck garland). Check out all of your transfer options in the 8 Best Airport Transfers in Rarotonga & the Cook Islands.
Domestic Flights
If you’re connecting to a flight to Aitutaki, for instance, then the domestic terminal is within short walking distance directly opposite the door you left the Arrivals Hall through. See our guide, Domestic Flights in the Cook Islands, for more information about making interisland flights.
The “Aunties”
If you’re not sure where to get your airport transfer or connecting flight, the Aunties will help you out! Working with Cook Islands Tourism, these couple of characters make sure that everyone knows where they’re going.
Now, transition into “Raro time” and enjoy your holiday! Need stuff to do? Check out the 101 Best Things to Do in the Cook Islands: The Ultimate List.


![The Duty-Free Allowances for Rarotonga & the Cook Islands 🍾 [2023]](data:image/svg+xml;nitro-empty-id=OTg1OjQzOA==-1;base64,PHN2ZyB2aWV3Qm94PSIwIDAgOTAwIDYwMSIgd2lkdGg9IjkwMCIgaGVpZ2h0PSI2MDEiIHhtbG5zPSJodHRwOi8vd3d3LnczLm9yZy8yMDAwL3N2ZyI+PC9zdmc+)
![Cook Islands Passenger Arrival Card: What You Need to Know [2023]](data:image/svg+xml;nitro-empty-id=OTk2OjQzNQ==-1;base64,PHN2ZyB2aWV3Qm94PSIwIDAgOTAwIDYwMSIgd2lkdGg9IjkwMCIgaGVpZ2h0PSI2MDEiIHhtbG5zPSJodHRwOi8vd3d3LnczLm9yZy8yMDAwL3N2ZyI+PC9zdmc+)


